If your kids are anything like mine, you have heard “I’m bored!”, “Can we go somewhere?”, and “What are we doing today?” about 237 times a day. Quarantine is a lifestyle change for all of us, but especially for children. Their routine is thrown off and they miss their peers. We have some awesome activities for kids of all ages to do with things that can be found around the house.
10 Educational and Fun Activities for Kids During Quarantine
Make Journey Sticks
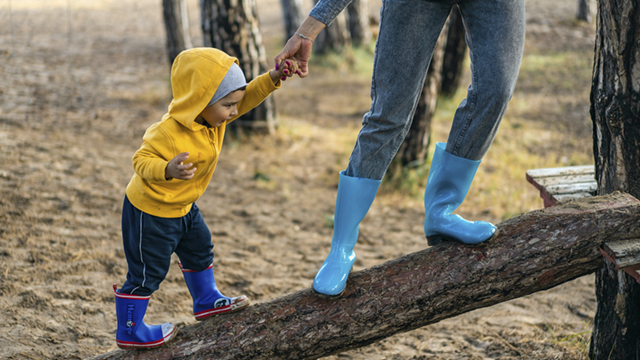
Getting some fresh air and spending time in nature is so important for children. They should have at least one hour per day outside. We have been going on a lot of family walks during quarantine to get some exercise and sunshine. A journey stick is a walking stick (any large stick) with ribbon or yarn tied to the top. When the kids take their journey sticks on a walk, they tie different nature treasures, such as pine cones, sticks, or leaves to the top of their stick. By the time you get home, they will have lots of treasures to show off and tell the story of their journey.
Make Nature Putty
Cooking is a wonderful way to spend quality time with your child. It also is a great time to teach your child about kitchen safety and mindfulness. Listed below is a recipe for nature putty. The consistency is similar to play dough but softer and less sticky. You can make different scents and colors using spices on-hand. My kids like to take it outside to add leaves and flowers to the dough. It can be used with sticks to create structures.
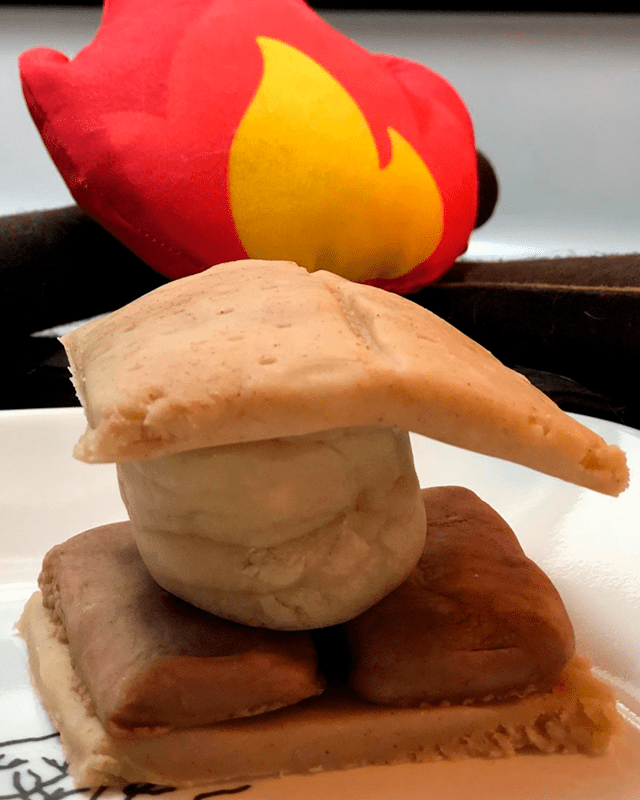
Homemade play dough recipe:
Ingredients:
- 2 cups flour
- 1 cup salt
- 4 tsp cream of tartar
- 4 tablespoons oil
- 2 cups cold water
- Coloring ingredient (e.g. turmeric powder mixed with a tiny bit of water).
- Scented ingredient (e.g. cinnamon, splash of vanilla extract, lemon juice, essential oil or other spice)
Directions:
- Mix dry ingredients and add wet ingredients well.
- Cook over medium-low heat, stirring continuously, until the dough holds together and is slightly more clear in color.
- Knead a few times, then let it cool.
- Once cool, pack in a ziploc bag or airtight container. Store in the refrigerator between uses.
Make Chalk Paint
We have spent hours blowing bubbles and creating chalk masterpieces in our driveway. The kids are starting to become uninterested after day 20 of the same ol’ routine. A fun and easy way to jazz up your little Picasso’s outside art time is to make chalk paint. Let little ones smash pieces of chalk into a powder using rocks or a small mallet. I suggest doing it on a portable work surface like a sheet of paper or piece of wood, so that chalk dust can be easily transferred to a container.
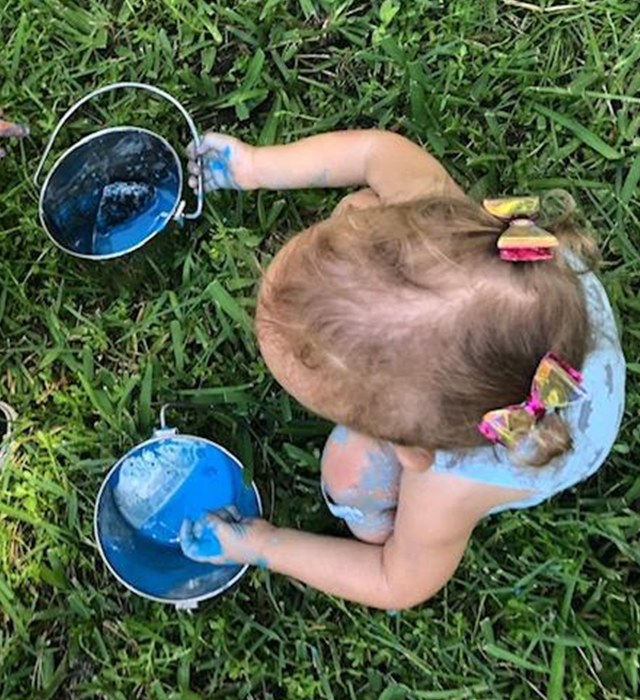
We like to make a lot of different colors and even mix them up to make new shades. All you need to make chaul powder into paint is water. Just continue to add small amounts of water until your desired consistency is reached. There is no right or wrong way to do this activity. Get creative. We thinned out the paint and used sticks or brushes to splatter it onto a dark bed sheet to create a Jackson Pollock inspired mural.
Do Some Spring Cleaning and Donate Items
Cleaning might not be the most fun activity, but it’s necessary and a great lesson to teach your children. We like to put on some energetic tunes and dive right in. I use three bins or boxes: one for donations, one for items to keep, and a trash bin. I find a spot in the center of the room to set up receptacles so that we can make a game of tossing the items (if not fragile) into the proper bin. Doing activities like this with your children teaches them to take care of their space, give to others, and teamwork.
Construct A Rube Goldberg Machine
What is a Rube Goldberg Machine, you ask? A Rube Goldberg Machine is a contraption or invention that performs a simple task through a series of chain reactions that are normally entertaining and humorous. They can be made using toys and household items. The best way to find inspiration for these machines is to look up videos online to watch with your child and then create your own version.
Engineer a Marble Run
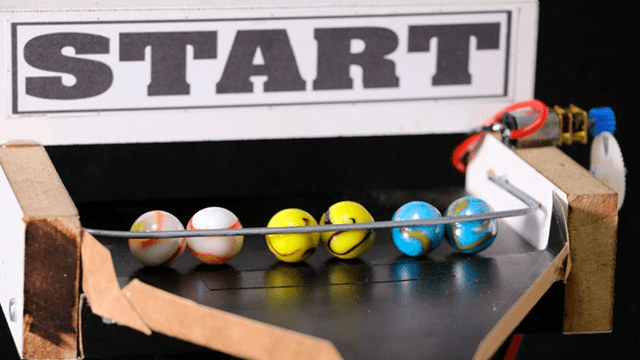
A marble run is a great way to use recyclables like cardboard boxes and paper towel rolls to teach hands-on science. The idea is to create a path for a marble or small ball to travel through make to the designated end. This STEM (Science/Technology/Engineering/Mathematics) activity is a great way to have your child practice their persistence and grit. The first few times they test the marble run, it might not be successful and that’s ok. Be sure to encourage them to keep and celebrate when it works properly. It is also fun to add challenges for the marble like small bumps to get over or around.
Decorate the Windows with Nature Art
A great way to bring nature indoors is to make art using backyard treasures like flowers, leaves and small sticks. You will need either contact paper or something clear and sticky like double-sided to stick your treasure to. A sliding glass door or a lower window that little hands can reach work best.
Set Up Obstacle Courses
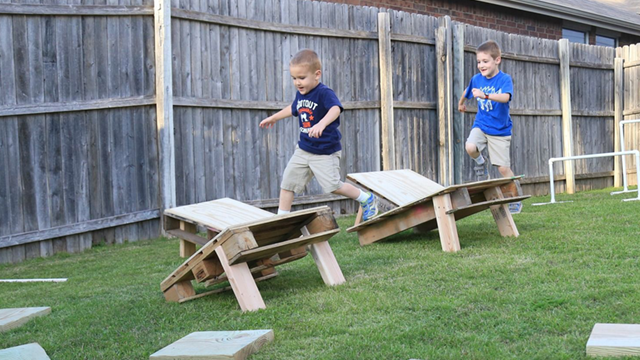
Ninja Warrior activities are a blast for active kids. I suggest setting up this activity outside for best results. Obstacles can be made from scrap pieces of wood, sturdy outdoor furniture, or outdoors toys like pool noodles and hoola hoops. The whole family can participate by timing each other to provoke some healthy competition.
Hang up a Rope Swing
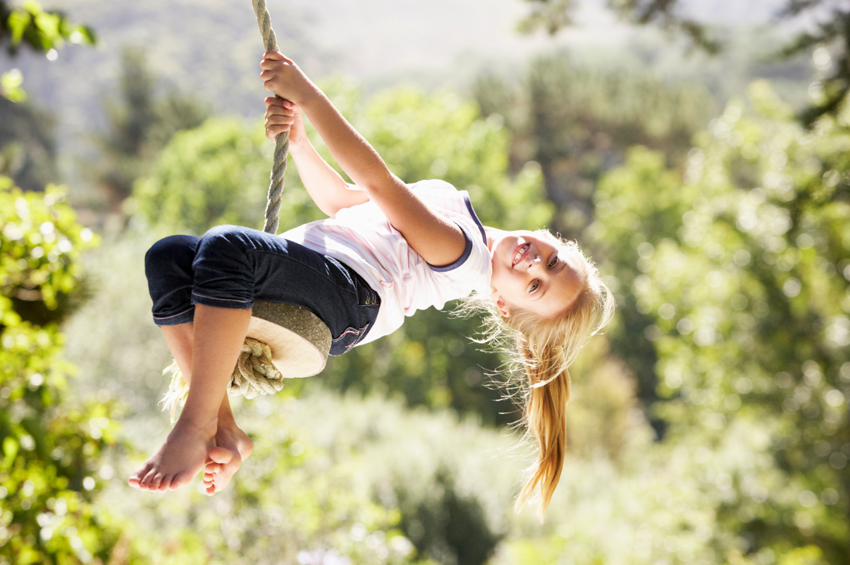
A rope swing can provide hours of outside entertainment. All you need is some wood (we used 2 x 6) and some strong rope. We have a few different types of swings in our yard, even just a rope swing with a few knots can be tons of fun. Kids can help come up with the designs as well. It is a great opportunity to teach a lesson in knot tying.
Craft Cute Bunny Friends
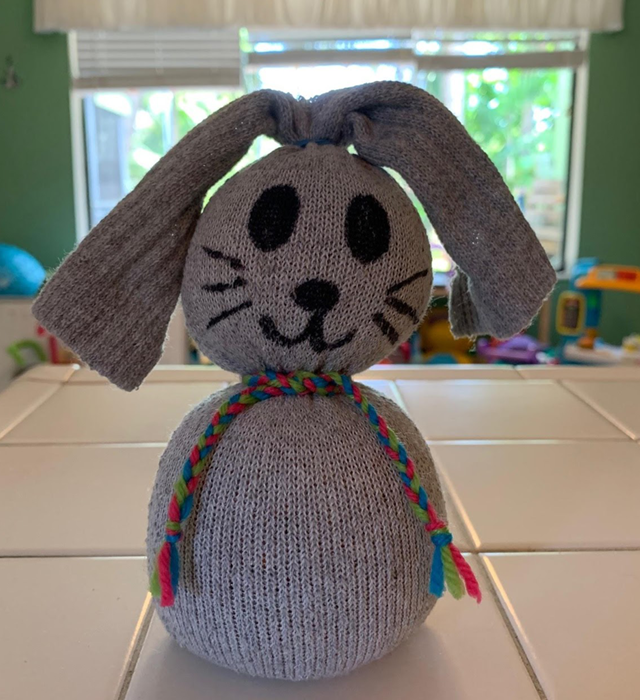
Spring has sprung and baby animals are the cutest. Using just a sock, 2 rubber bands, a marker, and some beans or rice. An adult will also need to use scissors to cut the ears. The size of your bunny will depend on the size of the sock you use. I recommend a long medium adult sock. The best way to get the filler of your choice into the sock is to attach it to a cup. First put the toe of the sock into the cup and wrap the band around the lip of the cup to create an opening. Next, fill up the sock about halfway and rubber band it to close. Next, reattach the sock to the cup and add more filler to the sock, about half the amount of the first section and rubber band that section.
You should have the body and the head of your bunny. To make ears by cutting the top of the sock in half almost down to the rubber band. Now, your bunny has floppy ears. Now it’s time to decorate! You can use a marker to give your bunny a face and even paws if you would like. I like to make my bunnies bows or scarves with ribbon or yard. Please keep in mind the bunny will not last if they get wet. If this does happen you can empty your sock, discard the filler, let the sock dry and refill.
I hope that your family has as much fun as mine has with these activities. Please share photos of your children enjoying themselves to our Facebook page.






3 Responses